The first package went to a lovely young lady here in Texas. Unfortunately, I only remembered to take pictures of what I made AFTER the package was mailed. I made Miss E. a pearl bracelet…a real pearl bracelet that she can wear every day. Every young lady should have an extravagant piece of real jewelry that she wears as casually as plastic pony beads. (She should also wear plastic pony beads with the same style and grace as, well, real pearls!)
Because Miss E. is learning how to sew, I also put together a pilowcase project for her to tackle on the sewing machine, which her mother had just taught her how to use. I cut all the pieces, laid them out and folded them neatly. All Miss E. had to do was sew them together on the machine with straight seams, a perfect project for a young seamstress.
Now with Christmas just around the corner, I’ve begun to think that extravagant pillowcases would make marvelous gifts. Since each case only takes about a yard of fabric total, you can indulge in designer cotton prints (think Amy Butler!), luxurious silks, or even some super soft flannel. These instructions were written for a young person who is learning how to sew, so don’t be offended if the instructions seem overly simplistic!
Pillowcase Tutorial
Materials
¾ yard main fabric – Fabric A Green Flowered in Photos
¼ yard coordinating fabric for the edge – B Striped in Photos
1/8 yard contrast fabric for the trim – C Brown in Photos
coordinating thread
1. Unfold and iron all fabric pieces so that they are smooth and wrinkle free. This will make your sewing easier. Because this is a very simple construction, you do not need to wash the fabric before sewing. If you were making an article of clothing, you would certainly wash the fabric before doing any cutting and sewing, so that your finished clothes don’t shrink and look wonky the first time you wash them!
2. Take the ¼ yard of coordinating Fabric B, and fold over ½” on one long side, wrong sides together. Press the crease with your iron.


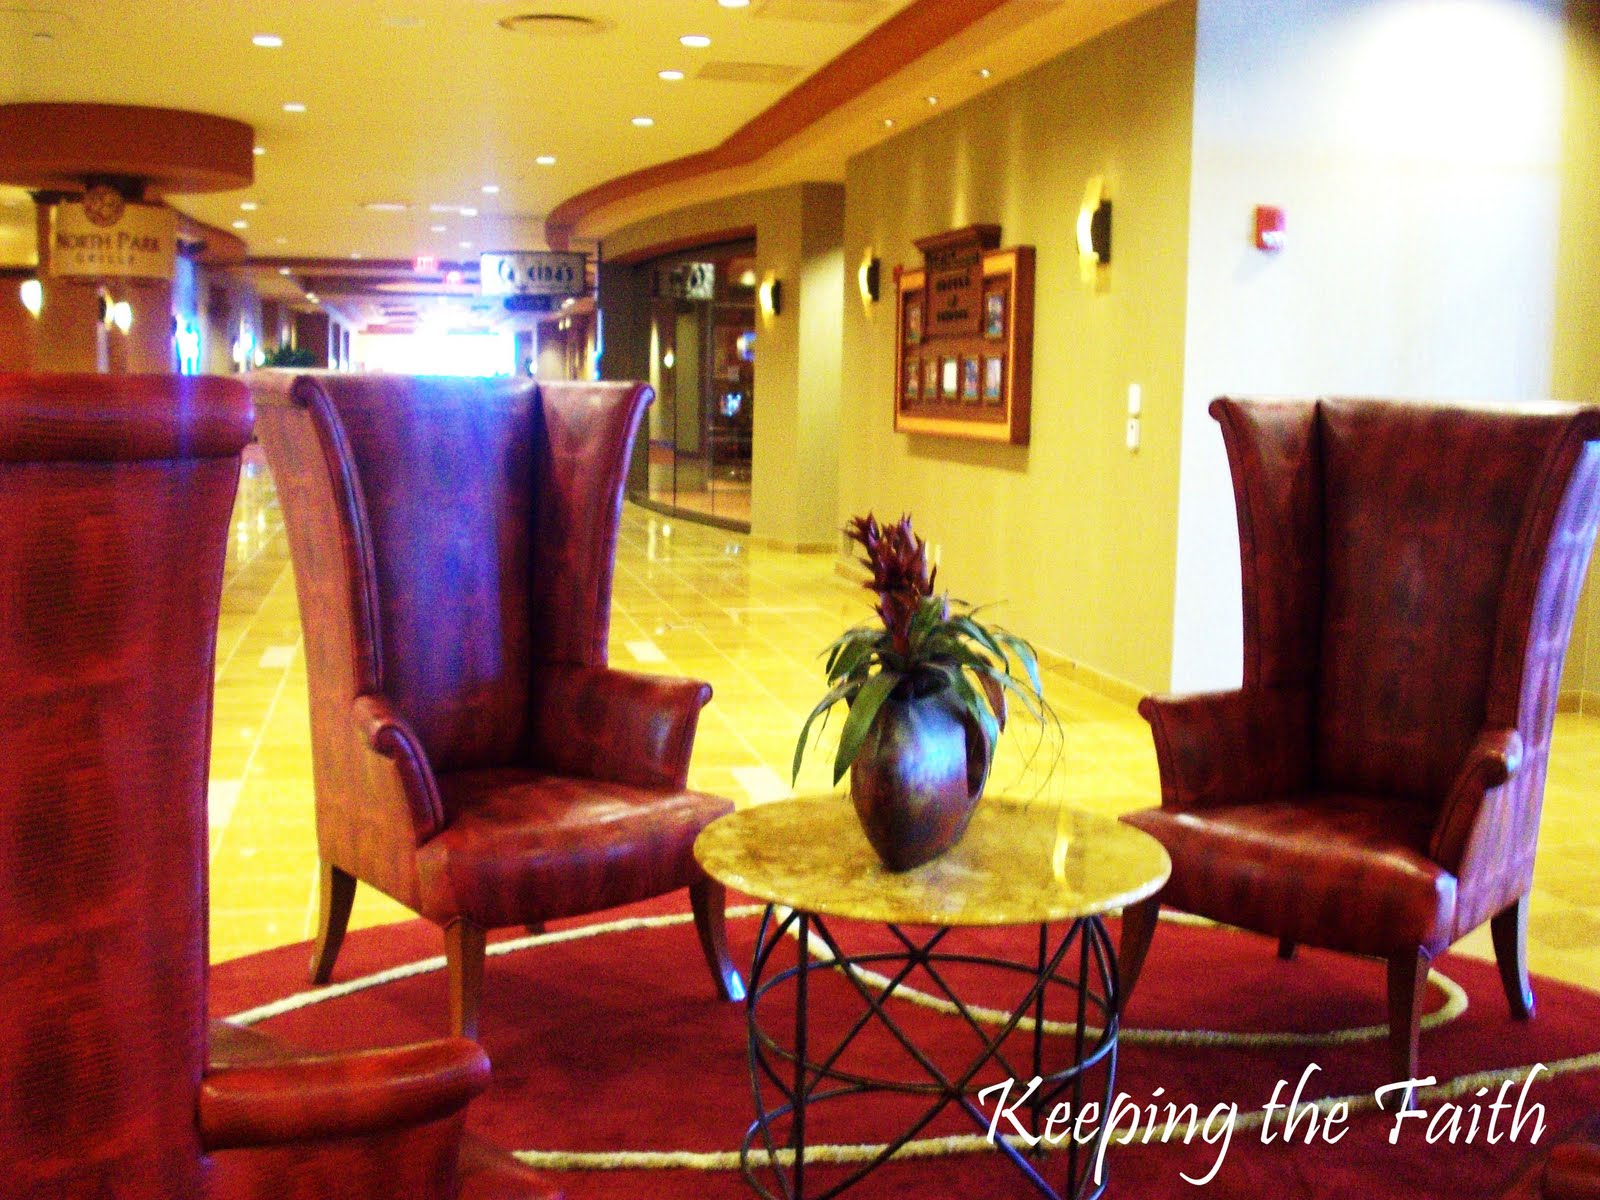
 First, there’s this amazing sofa from the lobby of the The Crown Plaza in Tulsa, Oklahoma. It is actually pyramid shaped with three sides. This photo is looking straight at one of the benches. It would probably fill my living room top to bottom side to side, but what fun it would be to sit on. The lovely models, from left to right are: Teen Niece#1, Teen Daughter#2 and Teen Daughter#1.

You must be logged in to post a comment.