Editor’s Note – I have joined Hip Mountain Mama’s One Small Change challenge for 2010. The challenge is to make one change each month leading up to Earth Day, April 22. It can be small or it can be huge, something I will do to make a positive green impact and follow through with it.
Note to My Family – I’ll be dragging you along with me!
If every one of my readers would make four changes between January and April, can you just imagine the effect?
If you want to be a part of this amazing and life changing challenge, pop over to Hip Mountain Mama for details.

I answered Mountain Knitter’s
call a few weeks ago over at
Sustainable Homestead, actually committing in writing my plans for a Greener household in 2010. One committment was to totally ditch plastic baggies and paper napkins. I already had several dozen cloth napkins which I pulled out from the back of the linen closet and put back into service in our kitchen. I spent yesterday afternoon making a stack of reusable sandwich bags for my family, a MUCH better use of my time than watching the Cowboys get their frannies kicked by the Vikings. (What a total embarressment!)
I spent some time online looking at all the reusable sandwich bags available out there. I wanted bags that are simple, shaped like a real sandwich bag (no folding required, no ties, no velcro to capture crumbs) and simple to care for. I really liked Mountain Knitter’s version; my teen daughters wanted something a little spiffier, so I improvised a little and came up with my own version.
To help the rest of you with your quest for a Greener household, here’s a tutorial to make your own. If you’d rather not sew, or if you don’t own a serger, pop over to Mountain Knitter’s etsy shop Sustainable Homestead and pick up a few of hers.
Reusable Sandwich/Snack Bags – Makes eight
Materials:
- 1/2 Yard of nylon rip stop fabric for lining
- 3/4 Yard of cotton fabric for outside of bag -OPTIONAL!!
- Wooly Nylon thread for serging edges
Tools:
- Rotary cutter, mat and ruler
- Serger
NOTE: the cotton outer fabric is OPTIONAL; you can make the baggies from a single layer of nylon ripstop. I used a cotton outer layer because a) my daughters wanted “fancy” bags, and b) I had stash fabric available.
Instructions:
1. Cut 7″ x 18″ rectangles from the nylon ripstop (liner) the cotton fabric (outside).

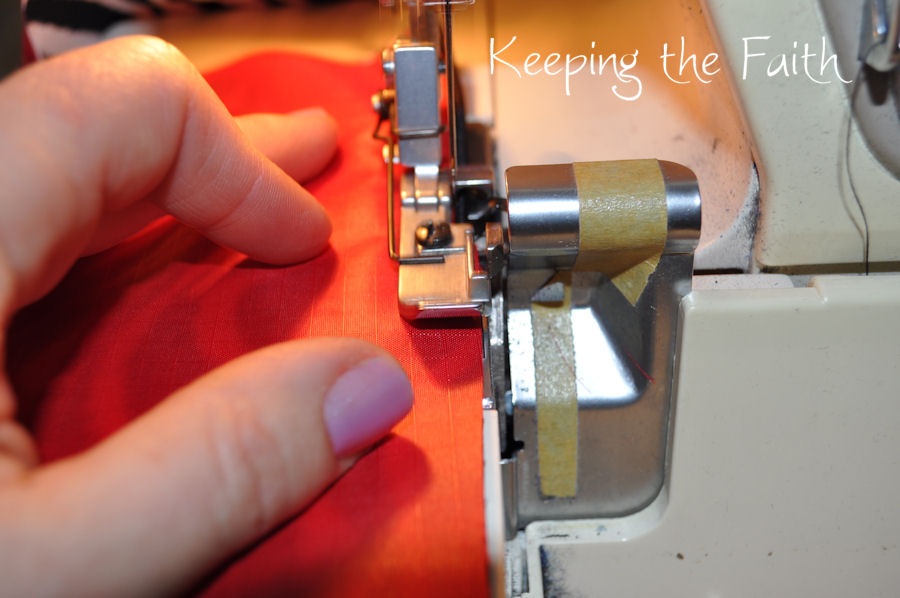
2. With liner and outer fabric placed wrong sides together, serge a rolled edge across one short side.

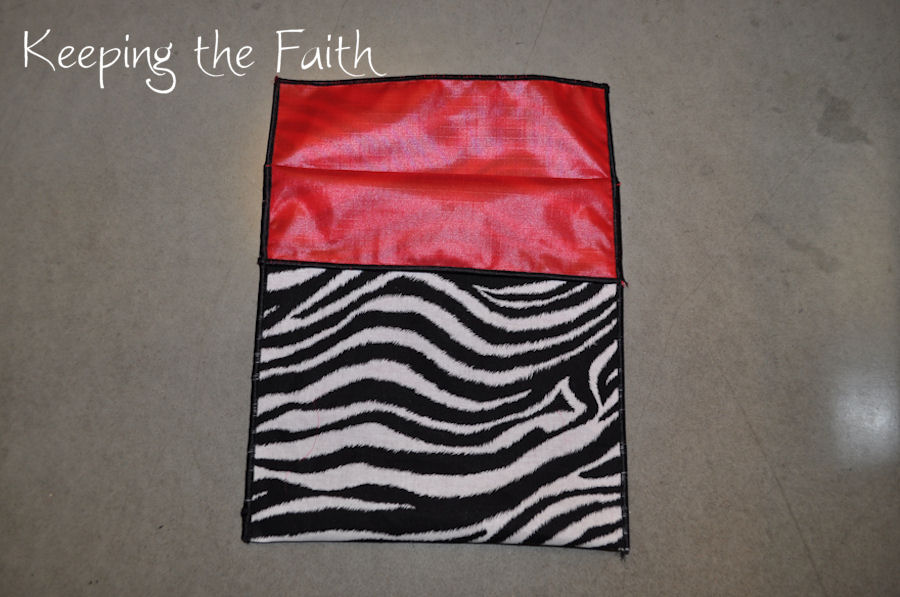
3. Fold rectangle in half, with the serged edge on top and lining fabric facing in. Turn down the serged edge about 1-3/4″, leaving a 1-3/4″ flap at the top. Pin in place.

4. Starting at the bottom, serge a rolled edge up one side of the bag, catching the folded section, across the top and down the other side. Trim threads and you’re done!

5. To close, tuck the flap in and fold over the opposite edge, just like the “oldfashioned” sandwich bags that existed before Ziplock came along.

To clean – shake crumbs out daily, toss in wash when needed. Enjoy!

Published by Angela Pea
Wife. Mother. Engineer. Cancer Survivor. Knitter of Marvelous Things. Rider of Multiple Bikes. Fabulous Cook. Reader of All the Books. Eternal Optimist. Perpetually Happy.
View all posts by Angela Pea


I've always wondered about the internal fabrics for these – now I know! A pity I don't eat sandwiches because I just love the idea. Might need to make some for snacks or pressies. Thanks for sharing. Cherrie