creative

An Abundance of Skirts

I used to have a fabric stash in my attic. I became very frustrated generous with it several years ago when my children were still young and underfoot, and I could never find a minute to sew anything other than a hem or button replacement. I donated the bulk of my stash to a quilter friend’s church to make quilts, bins and bins and bins of cottons, twills, wools, and linens. I kept a few favorite pieces of fabric, and have been slowly using them up here and there for costumes, kids’ school projects and throw together gifts. These skirts represent the end of the stash, at least the end of the pieces large enough to construct a garment that will cover my tush. There are enough scraps that I could still create complete wardrobes for every American Girl doll between here and Dallas. Since my own girls have outgrown their AG dolls (WHY they refuse to take them to college next year is beyond me!) I’m saving those scraps for my someday granddaughters.

I made four, count them – FOUR! – new skirts. I’ve decided that I will no longer wear shorts in the summer unless I am actually holding a fishing pole, rake or hoe in my hand. Skirts are just so much more fun and flattering, especially as I slide further into middle age where no amount of exercise will keep the cellulite at bay.

They are all shaped just like this, a simple a-line with no waistband, a concession to comfort over style.

Here’s the set. Don’t they look lovely spread out on my kitchen table? Note the creative display. I’ve folded them all in half so that you can’t see that I am wider than I am tall. I should work in a department store or something. Can you see a trend here? At one time, I had a fascination for decorated linen, enough to buy large chunks of it and stash it in the attic! The light blue one is denim, and the yellow embroidery exactly matches a favorite summer sweater shell, a perfect outfit for Friday At The Office.


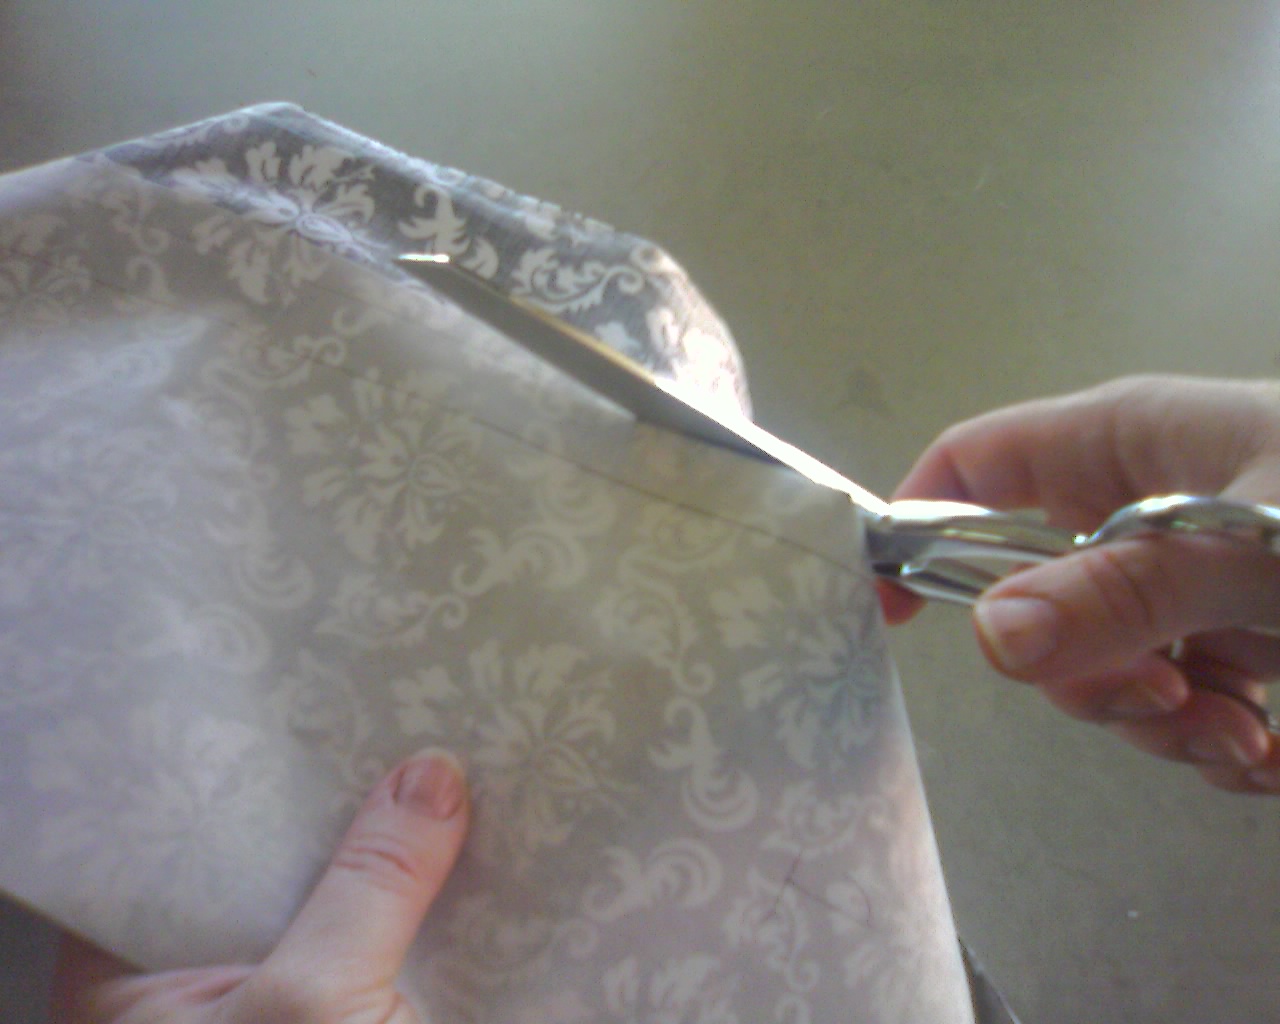
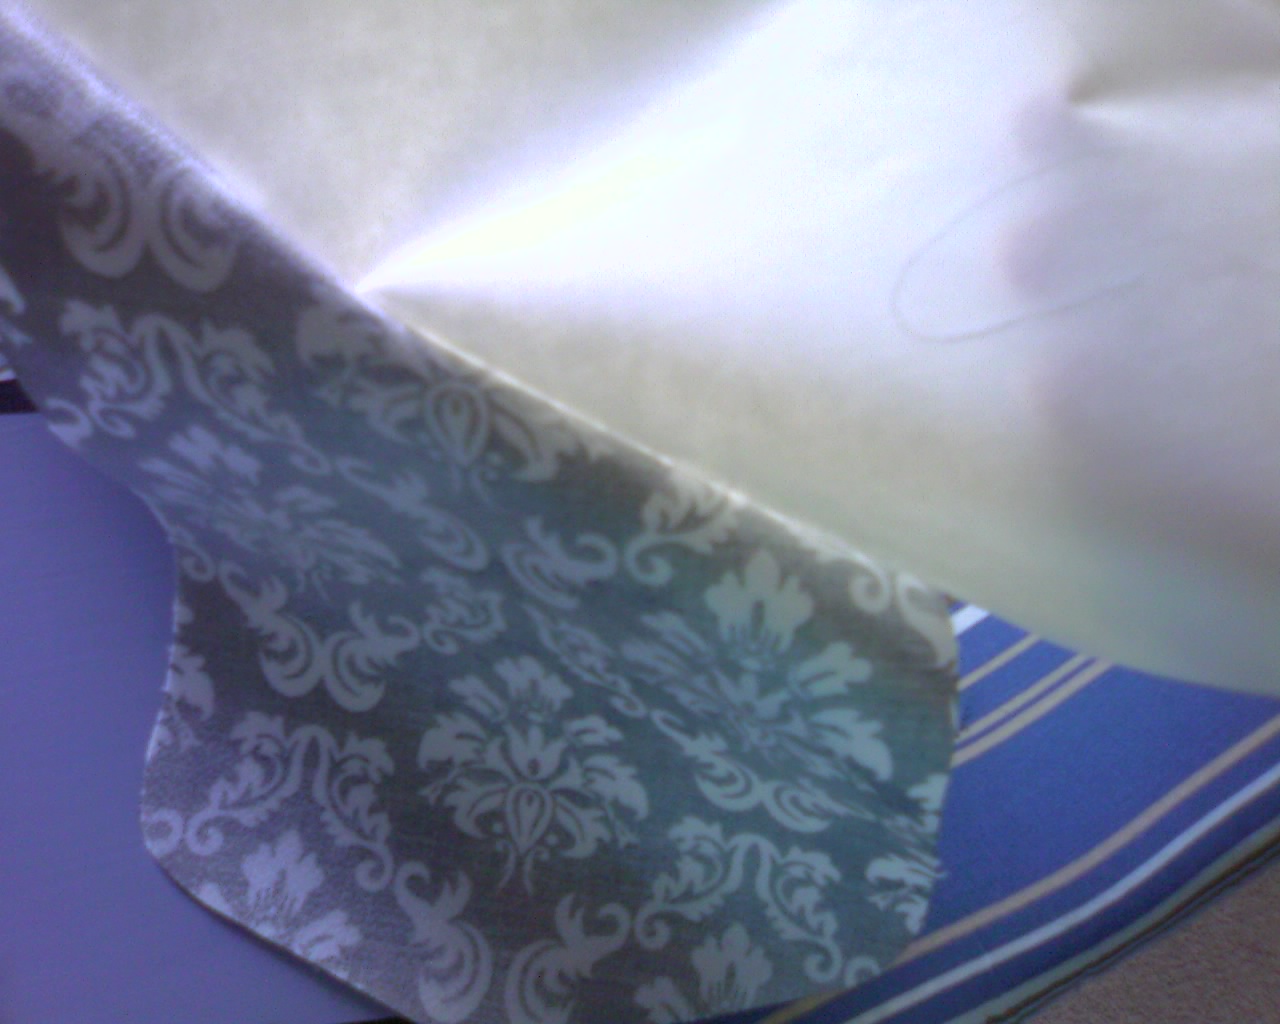
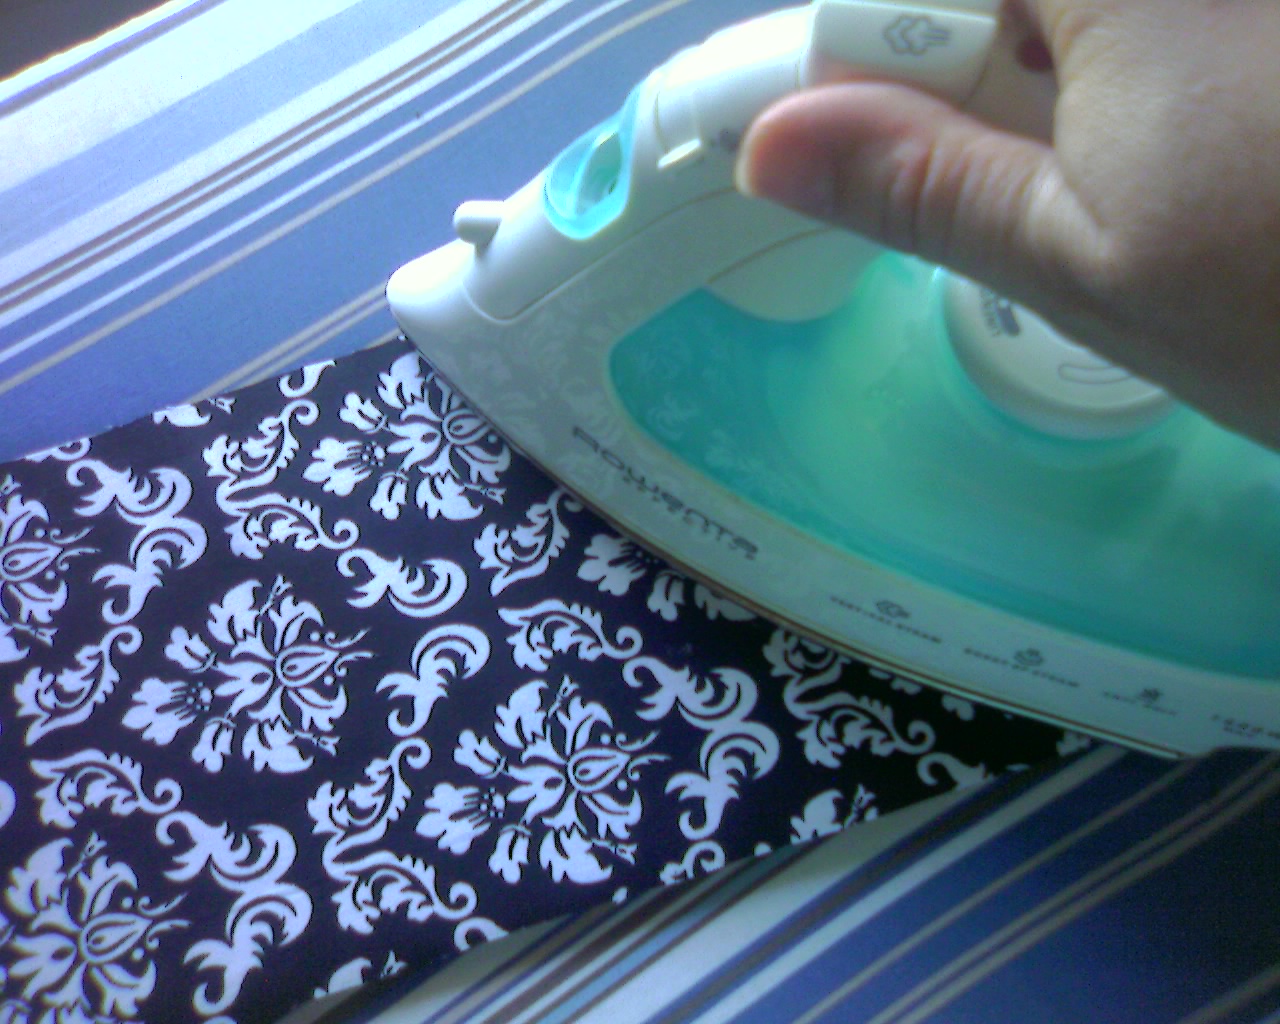
I took a lesson from Darling Petunia, and made some spiffy bias tape to finish off the facings and hemlines. I like my clothes to look pretty on the inside, because you never know when you might throw them on inside out and dash out the door!

Now that the stash is officially depleted, it’s time to start scouring thrifts for some serious refashioning pieces.

creative

Ceiling Fan Refashion – Tutorial

Blah ceiling fan getting you down? Refashion it with fabric!

You will need:
about 1 yard of fabric, enough to cover the surface of your fan blades
same amount of Heat and Bond Craft Bond, the extra heavy duty stuff
Pencil, Scissors, Sharpie, Iron, Screwdriver, Awl

Time to Complete:
about 1 hour, including time spent looking for the screwdriver and retrieving dropped screws from under the bed
1. Turn the ceiling fan off and remove the fan blades. Remove the arm from each fan blade.
NOTE – Keep all of the screws from the fan blades in a safe place, like a bowl, preferably one that has a lid. It is extremely annoying when the darn things grow legs and wander away some time during the refashioning process.

2. Trace around each blade, marking the paper side of your heat and bond. Number each piece, and write a matching number on the fan blade. Yeah, yeah, they should be exactly the same size, but alas, each one will be just a little off from its neighbor. Cut the shapes apart, leaving about a 1/2″ edge outside your pencil line. You’ll trim them later.
3. With a sharpie marker, color the edges of the fan blades in a complementary color to your fabric. Color over the edge about 1/4″ as well; this will camouflauge any squiggly trimming of your fabric.

4. Following the manufacturers’ instructions, fuse the Heat and Bond to the wrong side of your fabric.
ANOTHER NOTE – Pay attention to the pattern on your fabric! Make sure that you line up the Heat and Bond shape on the same repeat of the pattern, so that all of the blades look the same when you are finished.
5. Trim the bonded fabric to the final fan blade shape. Remove paper backing from the first piece, and iron on to the corresponding fan blade. Repeat for all blades.

6. Open holes through the fabric with the awl at each existing hole in the fan blade – this will make it easier to put the screws back in.
7. Reassemble the fan blades, attaching the arms, and then reattach to the fan base.